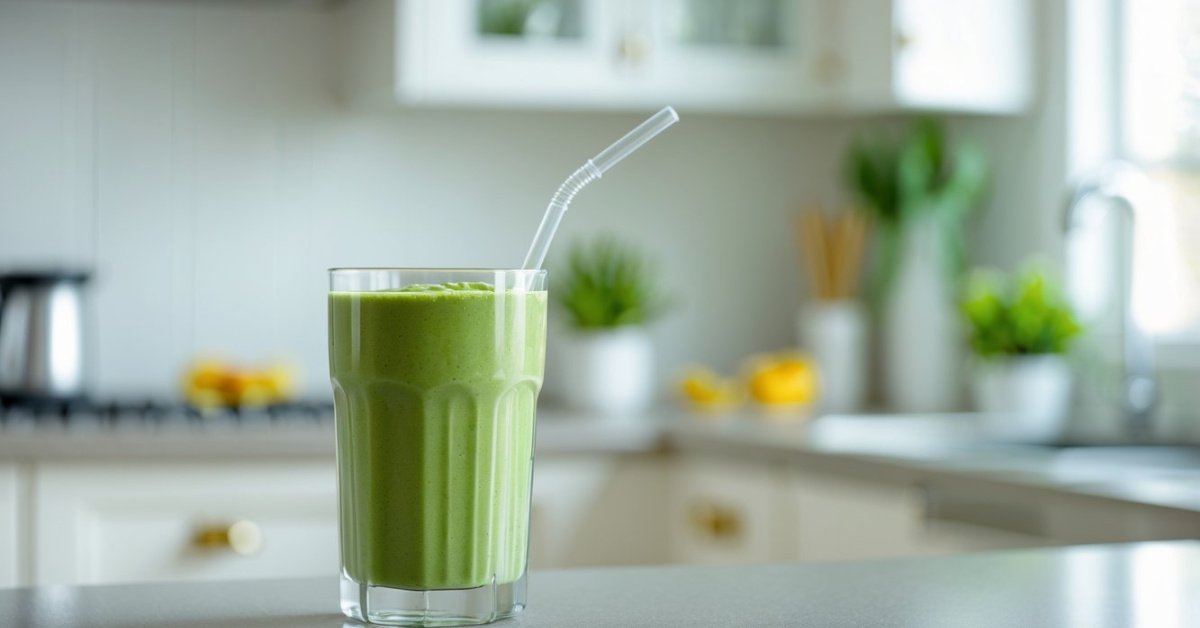
After a tough workout there’s nothing better than a cold creamy shake that helps my body bounce back. That’s why I love whipping up this chocolate coconut recovery shake. It’s rich chocolatey and just the right amount of tropical thanks to coconut—like a mini-vacation after every sweat session.
I created this shake to satisfy my sweet tooth while packing in nutrients that actually help me recover. It comes together in minutes and tastes so indulgent you’d never guess it’s good for you. If you crave a post-workout treat that feels like dessert without the guilt this is the shake for you.
Why You’ll Love This Chocolate Coconut Recovery Shake
Savoring this chocolate coconut recovery shake feels like treating yourself to a dessert after every workout. The first thing that hits me is the deep chocolate flavor balanced with the creamy flavor of coconut. It satisfies every sweet craving while helping muscles repair and replenish. I use wholesome ingredients that blend quickly so I do not have to waste time waiting for recovery fuel.
I love how this shake delivers smooth texture with every sip. The coconut milk and frozen banana combine to make it velvety, while the cocoa gives a rich, satisfying finish that curbs any post-workout hunger. It only takes a few minutes to whip up, so I can keep my routine on track and stay energized.
This shake is packed with plant-based protein, natural electrolytes from coconut, and just enough carbs for muscle recovery. I only select ingredients that support a healthy lifestyle and deliver great taste. Whether you are trying to recover after a tough workout or you want a sweet treat, this chocolate coconut recovery shake fits seamlessly into a healthy, active day.
Ingredients
Here are the precise ingredients I use for my Chocolate Coconut Recovery Shake. Each one helps balance nutrition, flavor, and that perfect, creamy texture every time:
- 1 cup unsweetened coconut milk (chilled and shaken well)
- 1 medium frozen banana (sliced before freezing for easier blending)
- 1 scoop chocolate plant-based protein powder (whey also works if not plant-based)
- 1 tablespoon unsweetened cocoa powder
- 2 teaspoons natural almond butter (smooth variety)
- 1 teaspoon honey or maple syrup (optional for added sweetness)
- 1 tablespoon unsweetened shredded coconut (plus extra for garnish)
- 1/4 teaspoon pure vanilla extract
- Pinch of sea salt
- 1/2 cup ice cubes (add more or less for desired thickness)
These ingredients combine to create a shake that is rich, creamy, and packed with nutrients. I like to use frozen banana for that classic shake texture without diluting flavor or nutrients. The unsweetened coconut milk and shredded coconut deepen the tropical notes, while chocolate protein powder and cocoa give you that indulgent post-workout satisfaction. Honey or maple syrup is optional, but it rounds out the flavors perfectly if you like a little extra sweetness.
Equipment Needed
To make a Chocolate Coconut Recovery Shake that rivals anything I served at my smoothie shop, you just need a few essentials. These are my go-to tools for getting smooth, creamy results every time.
- High-powered blender – This is the backbone of a silky shake. A strong blender breaks down frozen banana and ensures the coconut and chocolate flavors blend seamlessly.
- Measuring cups and spoons – Precision is key for flavor balance and nutrition. I always measure out my liquid, protein powder, cocoa powder, and nut butter.
- Rubber spatula – Perfect for scraping down the sides of the blender to use every bit of the ingredients.
- Tall glass or shaker bottle – For serving your shake fresh and cold.
- Metal or silicone straw (optional) – I love reusable straws for enjoying every thick, chocolaty sip.
I make sure my blender is clean and ready before I prep ingredients. Lining up my equipment first means a quicker, smoother process and consistently delicious shakes.
Make-Ahead Tips
I know how valuable it is to have a post-workout shake ready when you finish your last rep. Here’s how I prep my chocolate coconut recovery shake ahead of time so I never have to wait for flavor or nutrition.
- Prep Individual Smoothie Packs
I slice and freeze bananas in advance. Then I portion out my dry ingredients—protein powder, cocoa powder, and any optional add-ins—into small zip-top bags or reusable silicone pouches. I keep these in the freezer next to my frozen bananas to keep everything cold and ready to blend.
- Pre-Mix Liquid Ingredients
I measure out coconut milk into airtight containers or jars for the week. This keeps my liquids cold and makes blending even faster.
- Batch Blending
If I want to save more time, I blend two to three servings at once, pour them into airtight glass jars or shaker bottles, and store them in the fridge. The shake will stay fresh for up to 24 hours. Just give it a good shake before serving since the texture can thicken as it sits.
- On-the-Go Storage
For busy mornings or travel, I keep a travel-friendly shaker, my prepped smoothie pack, and a bottle of coconut milk in my bag. When I’m ready, I just add the milk to my protein and cocoa pack, shake well, and I’m good to go—no blender needed if I don’t mind a slightly chunkier texture.
- Topping Tips
I keep shredded coconut and cacao nibs in small containers for topping my shake right before serving. This prevents them from getting soggy and keeps that fun crunch.
| Make-Ahead Tip | How To Do It | Storage Length |
|---|---|---|
| Prep smoothie packs | Freeze banana and dry ingredients in bags | Up to 1 month |
| Pre-mix liquid | Store coconut milk in jars | Up to 5 days |
| Batch blend | Blend shakes and refrigerate in jars | Up to 24 hours |
| On-the-go packs | Carry dry mix and milk to shake fresh | Same day |
| Toppings on the side | Store add-ons separate until serving | Up to 2 weeks |
Directions
Smoothies and shakes are all about simplicity and flavor. With just a few steps, you’ll have a cold, chocolatey coconut shake ready for recovery or as a sweet treat at any time.
Prep the Ingredients
I start by gathering and measuring everything before blending. I slice the banana if it is not already frozen and portion out the coconut milk, chocolate plant-based protein powder, cocoa powder, and almond butter. If I am using honey or maple syrup, I measure that as well. I make sure the frozen banana is nice and firm for the best creamy texture.
Blend the Shake
I add the coconut milk to the blender first, followed by frozen banana slices. Next, I add chocolate protein powder, cocoa powder, almond butter, and any sweetener. I secure the blender lid tightly and blend on high for 45 seconds or until everything looks completely smooth. I use a rubber spatula to scrape down the sides if any powder sticks.
Adjust Consistency and Flavor
I check the texture. If the shake is too thick, I pour in a bit more coconut milk or a splash of water and blend again. For a sweeter shake, I drizzle in extra honey or maple syrup and pulse a few times to mix. If I want deeper chocolate notes, I add another teaspoon of cocoa powder.
Serve and Enjoy
I pour the shake into a tall glass or shaker bottle. Sometimes I garnish with shredded coconut or cacao nibs for a crunchy topping. I use a metal or silicone straw for an extra smooth sipping experience. The shake tastes best chilled and enjoyed right away.
Nutrition Information
I always pay attention to what goes into my smoothies because nutrition matters just as much as flavor. This Chocolate Coconut Recovery Shake strikes that balance perfectly. Here’s a breakdown of the nutrition for a single serving made with the base recipe and no extra sweeteners:
| Nutrient | Amount |
|---|---|
| Calories | 330 kcal |
| Protein | 18 g |
| Carbohydrates | 42 g |
| Sugar | 18 g |
| Fiber | 6 g |
| Fat | 12 g |
| Saturated Fat | 7 g |
| Sodium | 220 mg |
| Potassium | 800 mg |
| Calcium | 150 mg |
My shake uses unsweetened coconut milk for healthy fats and potassium, while the chocolate plant-based protein powder delivers a solid hit of protein for muscle recovery. Frozen banana and cocoa powder bring natural sweetness and antioxidants. Almond butter adds richness and boosts healthy fat content, which helps keep me satisfied after a good workout. With 18 grams of protein and a blend of fast and slow-digesting carbs, it’s a perfect post-workout treat that refuels my body and curbs cravings.
If you add honey or maple syrup, the sugar content will climb a bit, but you can always dial it back depending on your needs. I choose ingredients that give me energy and help my muscles recover so every sip supports a balanced, healthy lifestyle without sacrificing the chocolatey coconut flavor I love.
Tips and Variations
Boost the Protein
- Add a scoop of unflavored collagen peptides for even more protein without changing the taste.
- Swap in Greek yogurt or cottage cheese instead of plant-based protein powder for a creamy tang.
Adjust the Sweetness
- If you crave a sweeter shake, add a few pitted Medjool dates or a splash of pure maple syrup.
- For less sweetness, skip added sweeteners and rely on the natural sugars from banana.
Intensify the Chocolate Flavor
- Mix in a tablespoon of mini dark chocolate chips or cacao nibs before blending for added richness and crunch.
- Use Dutch-process cocoa powder for a smoother, bolder chocolate profile.
Make it Dairy-Free
- Stick with coconut or almond milk for a dairy-free option.
- Use a plant-based protein powder and double-check that all additions are vegan if needed.
Nut-Free Option
- Replace almond butter with sunflower seed butter or tahini for a delicious nut-free version.
- Omit topping nuts or seeds if allergies are a concern.
Add Superfood Boosts
- Sprinkle in a teaspoon of ground flaxseeds, chia seeds, or hemp hearts for extra fiber and omega-3s.
- Add a handful of raw spinach or kale for a hidden veggie boost without altering the chocolate-coconut flavor.
Play with Texture
- Control the thickness by reducing or increasing the coconut milk. Add more for a lighter shake, or use less for a decadent, spoonable smoothie bowl.
- Toss in extra frozen banana or a handful of ice cubes for a frostier shake.
Fun Toppings
- Top with toasted coconut flakes, a dusting of cocoa powder, crushed nuts, or a swirl of almond butter for visual appeal and texture.
- Finish with a few pieces of fresh banana or a sprinkle of cacao nibs if you want crunch with every sip.
Prep-Ahead Tips
- Set up smoothie freezer packs with all the dry and frozen ingredients portioned in advance. Store packs in the freezer for grab-and-blend convenience.
- Mix your liquid ingredients the night before and keep them chilled in the fridge for a morning shake that’s ready in a minute.
Kid-Friendly Adjustment
- Skip the protein powder for a snack shake. Add honey or agave if your kids need extra sweetness.
- Serve in fun glasses with colorful straws to make it more appealing for little ones.
Storing and Reheating Suggestions
When it comes to storing the Chocolate Coconut Recovery Shake, I recommend pouring any leftovers into an airtight glass jar or BPA-free bottle immediately after blending. Store the shake in the refrigerator for up to 24 hours. For best flavor and texture, give the container a good shake or stir before drinking since natural separation can occur—especially with coconut milk and protein powder.
If you love prepping in advance like I do, you can make smoothie packs. Measure out chopped frozen banana, cocoa powder, and protein powder in small freezer bags. Store these packs for up to 2 months. At blending time, empty a pack into your blender with coconut milk and almond butter for a fresh shake in minutes.
If you prefer your shake very cold or with an extra-thick texture, you can freeze the finished shake in individual portions using silicone molds or ice cube trays. Pop the cubes into a blender with a little extra coconut milk to blend back to creamy perfection.
This shake is not suited to reheating due to its chilled nature and creamy composition. If your shake feels too thick from the fridge—common with coconut milk—add a splash of coconut water or more coconut milk, then blend or shake until smooth.
| Storage Method | Container Type | Shelf Life | Instructions |
|---|---|---|---|
| Fridge (liquid shake) | Glass jar or bottle | Up to 24 hrs | Shake or stir well before drinking |
| Freezer (prep packs) | Freezer bags | Up to 2 mos | Blend with milk and almond butter when ready to serve |
| Freezer (shake cubes) | Silicone molds/trays | Up to 1 mo | Blend with extra milk for freshest texture |
Avoid leaving the shake at room temperature for more than two hours to keep it safe and tasting fresh. My go-to tip: store the shake on an ice pack if you are taking it on the go. This helps keep it cold and delicious while maintaining the nutrients you need after your workouts.
Conclusion
I love how this chocolate coconut recovery shake brings a little luxury to my post-workout routine. It’s become my go-to for a quick, satisfying pick-me-up that feels both nourishing and decadent.
Whether I’m prepping ahead or blending on the spot, the process is always simple and rewarding. I hope you’ll give it a try and find it as delicious and revitalizing as I do.